Scratch is a great tool for helping teach programming concepts in an easily understandable way. I’ve cause to give a small taster of Scratch to a group of children, and put together the following as a simple example of something to get started.
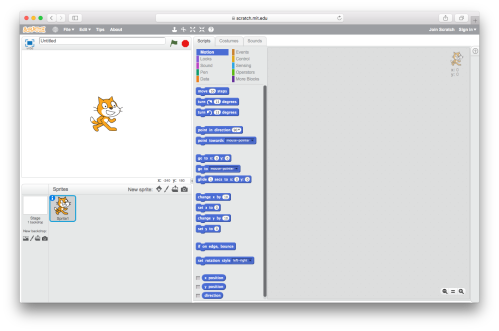
I’m working on the assumption that folks can sign up and reach the editor — our starting point is a new Project.
Scenario — a race!
The scenario is a running race between two characters, with the winner of the race getting bragging rights at the end. Two players make their character move each by pressing a different pair of keys for back and forward. The idea is to demonstrate that very quickly and easily a game with a competitive element can be made, and then built upon later.
Setting the scene
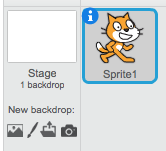
First thing we need is a fitting backdrop. Handily Scratch comes with a bunch of them already uploaded, including an athletics track. First, click the picture icon (the leftmost) under the New backdrop: caption.
You’ll see a dialog box appear with a wide variety of different backdrops to choose from. Drill down to the Sports category, select track and then OK.
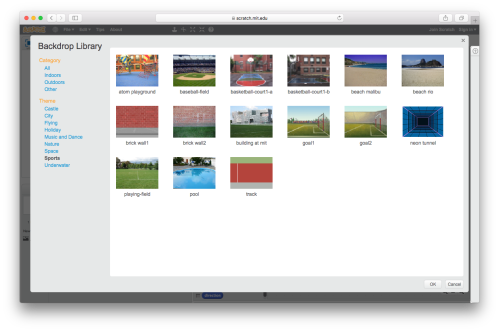
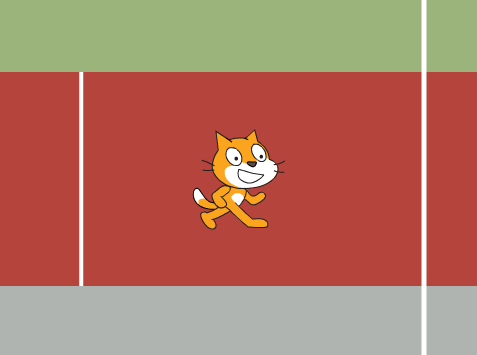
You should now see the track as the background for the Project.
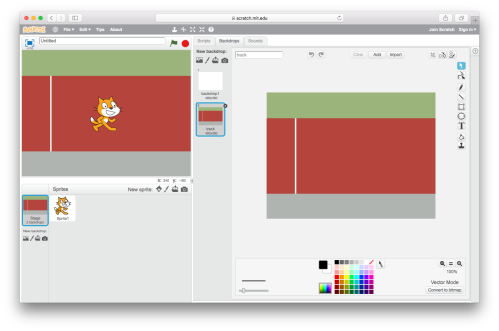
The track background comes with a start line but no finish line. Create one by clicking the paintbrush icon.

A blank canvas appears on the right.
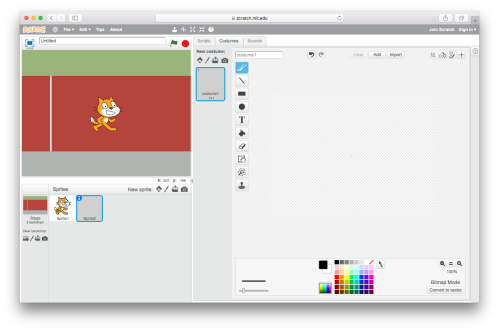
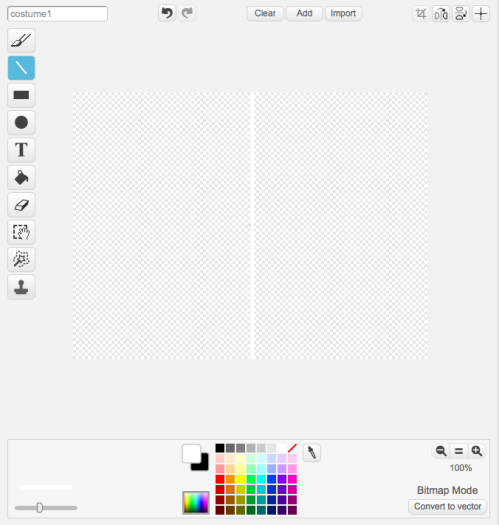
Select the Line tool.

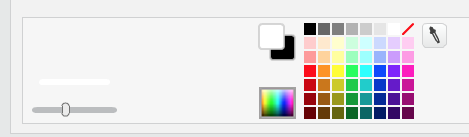
By default the line will be black, so select white from the colour picker at the bottom.
You’ll notice you can adjust the width of the line as well. Create a vertical line by holding down the shift key (to lock to vertical) dragging vertically on the canvas:
You may notice that the line has appeared on the Stage on the left hand side — you can drag it into roughly the right place for a finish line.
Setting up the contestants
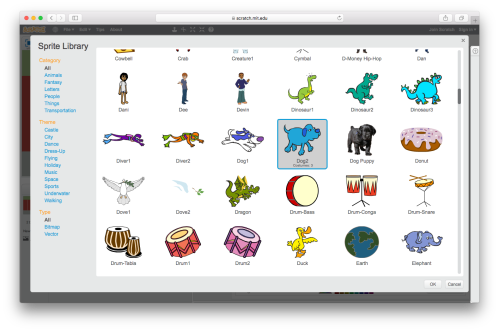
We’ve already got our friendly cat as one contestant, so let’s find them an opponent. Click the face icon to open up a palette of predefined sprites to choose from.

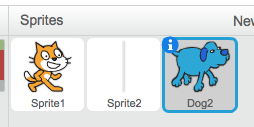
Now of course it’s a free choice what you wish to choose to race the cat. For tradition’s sake, I’ve selected the dog. Click OK once again to accept your choice.
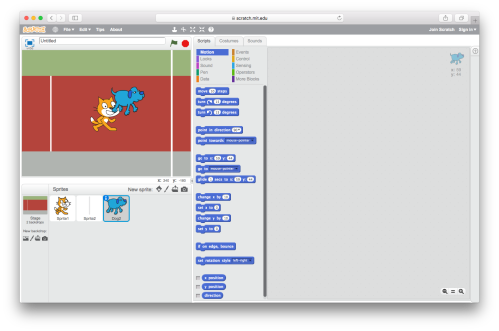
You’ll now see the second sprite has been added to the Stage:
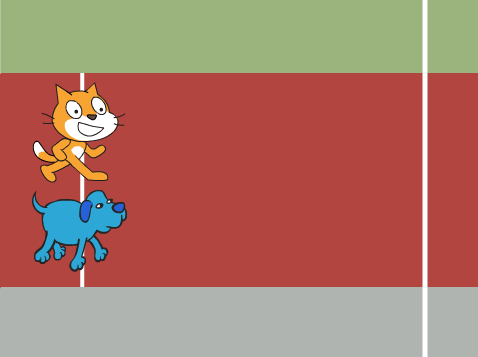
Position the contestants on the start line by simply using drag and drop.
Making the contestants run
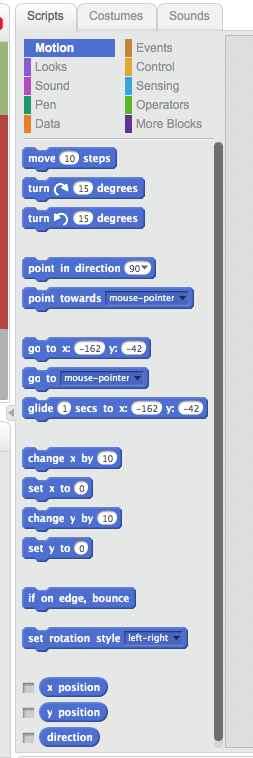
I’ll show how we can make one of the sprites “run” in response to a keyboard control, the same logic applies to both, albeit with different keys. In Scratch, each sprite has an associated set of scripts that do things in particular circumstances. The scripts are formed of interlocking pieces which are dragged into place from a palette. The palette organises the script fragments into logical groupings depending on their type.
I’ve selected the dog to set up scripts for the dog sprite:
I’ve set up a utility script to restore the dog to its starting position — in Scratch, when a sprite has been moved, it stays in its new location until you move it back, or write some code to do so. My script puts together an Event (the green flag being clicked) with a Motion script to move to particular x and y coordinates. Handily, the x and y coordinates of the Motion script default to the current x and y coordinates, so assuming we haven’t moved the sprites around since we put them on the start line, we don’t need to change anything.
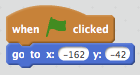
You can repeat this exact process for the cat as well, so that when the green flag is clicked, they both move back to their starting position.
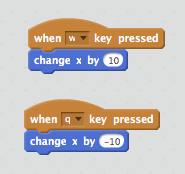
To make the dog move to the right (i.e. towards the finish line), we create another Event and Motion script — this time a directional movement in response to a key press. I’m going to select w to move it right.

Now we need to create the rightward motion. We can do this easily by simply moving the sprite 10 pixels to the right. We do this using a Motion script.
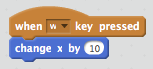
Note that a positive value for the change in x is a movement to the right. We can now set up the leftward motion by simply selecting a leftward key (I’m using q) and a negative change, giving:
The dog now moves left and right! You can apply the same logic to the other sprite by selecting it from the Sprites panel and repeating the above with different keys.
Knowing who’s won
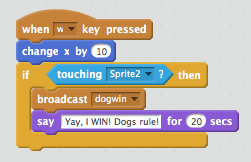
There’s a simple way of knowing who has reached the finish line first, and that’s to add some control logic to the rightward motion of each sprite to sense when it is in contact with the finishing line sprite we created earlier. For this we use a combination of a Control script and a Sensing script:
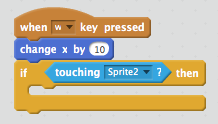
The if script provides a mechanism to test if the sprite has reached the line after a rightward move. The condition is provided by a touching Sensing script — we simply specify the name of the sprite we’re interested in touching. In this case, the white line is imaginatively titled “Sprite2”! Having detected the condition, we now need to make the sprite actually do something. We can accomplish this using a Looks script to simply make the sprite “say” something:
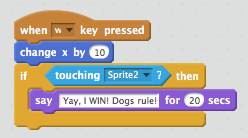
Which has the following effect:
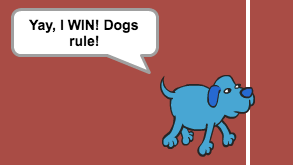
So for the game in its simplest form, by creating matching logic for each sprite, we now have ourselves a workable competition. Try it and see who shouts first!
Making the loser answer back
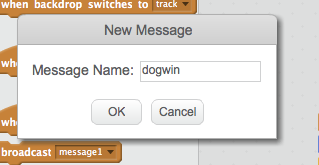
In Scratch, we can make sprites communicate by broadcasting messages. On Events, we have broadcast scripts that emit a named message that can be received by other sprites. In this case, I’m going to broadcast a message when each contestant wins. To do so, I can create a new broadcast script, and specify a new message type (which is literally just a name), for example:
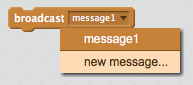
then
That then gives us a message we can broadcast. In the following case, the dogwin message will be broadcast as well as the dog celebrating:
Now having broadcast the message, it’s not much fun unless we have someone do something with it. We can use an Event script to respond to the message when broadcast. The following script when added to the cat’s scripts makes it express its disappointment when it realises the dog has won:
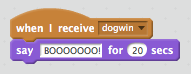
This means when the dog wins, the following now happens:
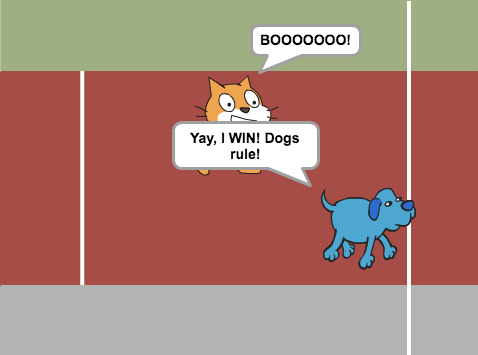
Again, by making sure both contestants emit a “winning” event, both can respond in kind if they lose!
Lots more can be done
Now of course the above is very basic and there are many gaps in the logic we could plug — for example stopping the competitors running once there’s a winner, having different pacing for sprites, obstacles etc. But as a guide to how quickly we can create a two player game in Scratch, with practice this little exercise can be accomplished in less than five minutes.
I hope this is useful, I’ve shared my basic version on Scratch for you to look at.